
First iPhone export
Use this procedure to export one day before you change metrics, formats, or automation. Health.md reads only the Apple Health categories that you authorize.
Health.md writes the files to the folder that you select.
The first export uses the free allowance. You can configure schedules and paid features later.
Before you start
Section titled “Before you start”Before you start, make sure that you have:
- Health.md on an iPhone that contains Apple Health data
- Permission to read at least one Apple Health category
- A writable Files folder in iCloud Drive, On My iPhone, or an Obsidian vault.
Keep the default metrics and the Markdown format. Select Yesterday or a different one-day range.
1. Finish iPhone setup
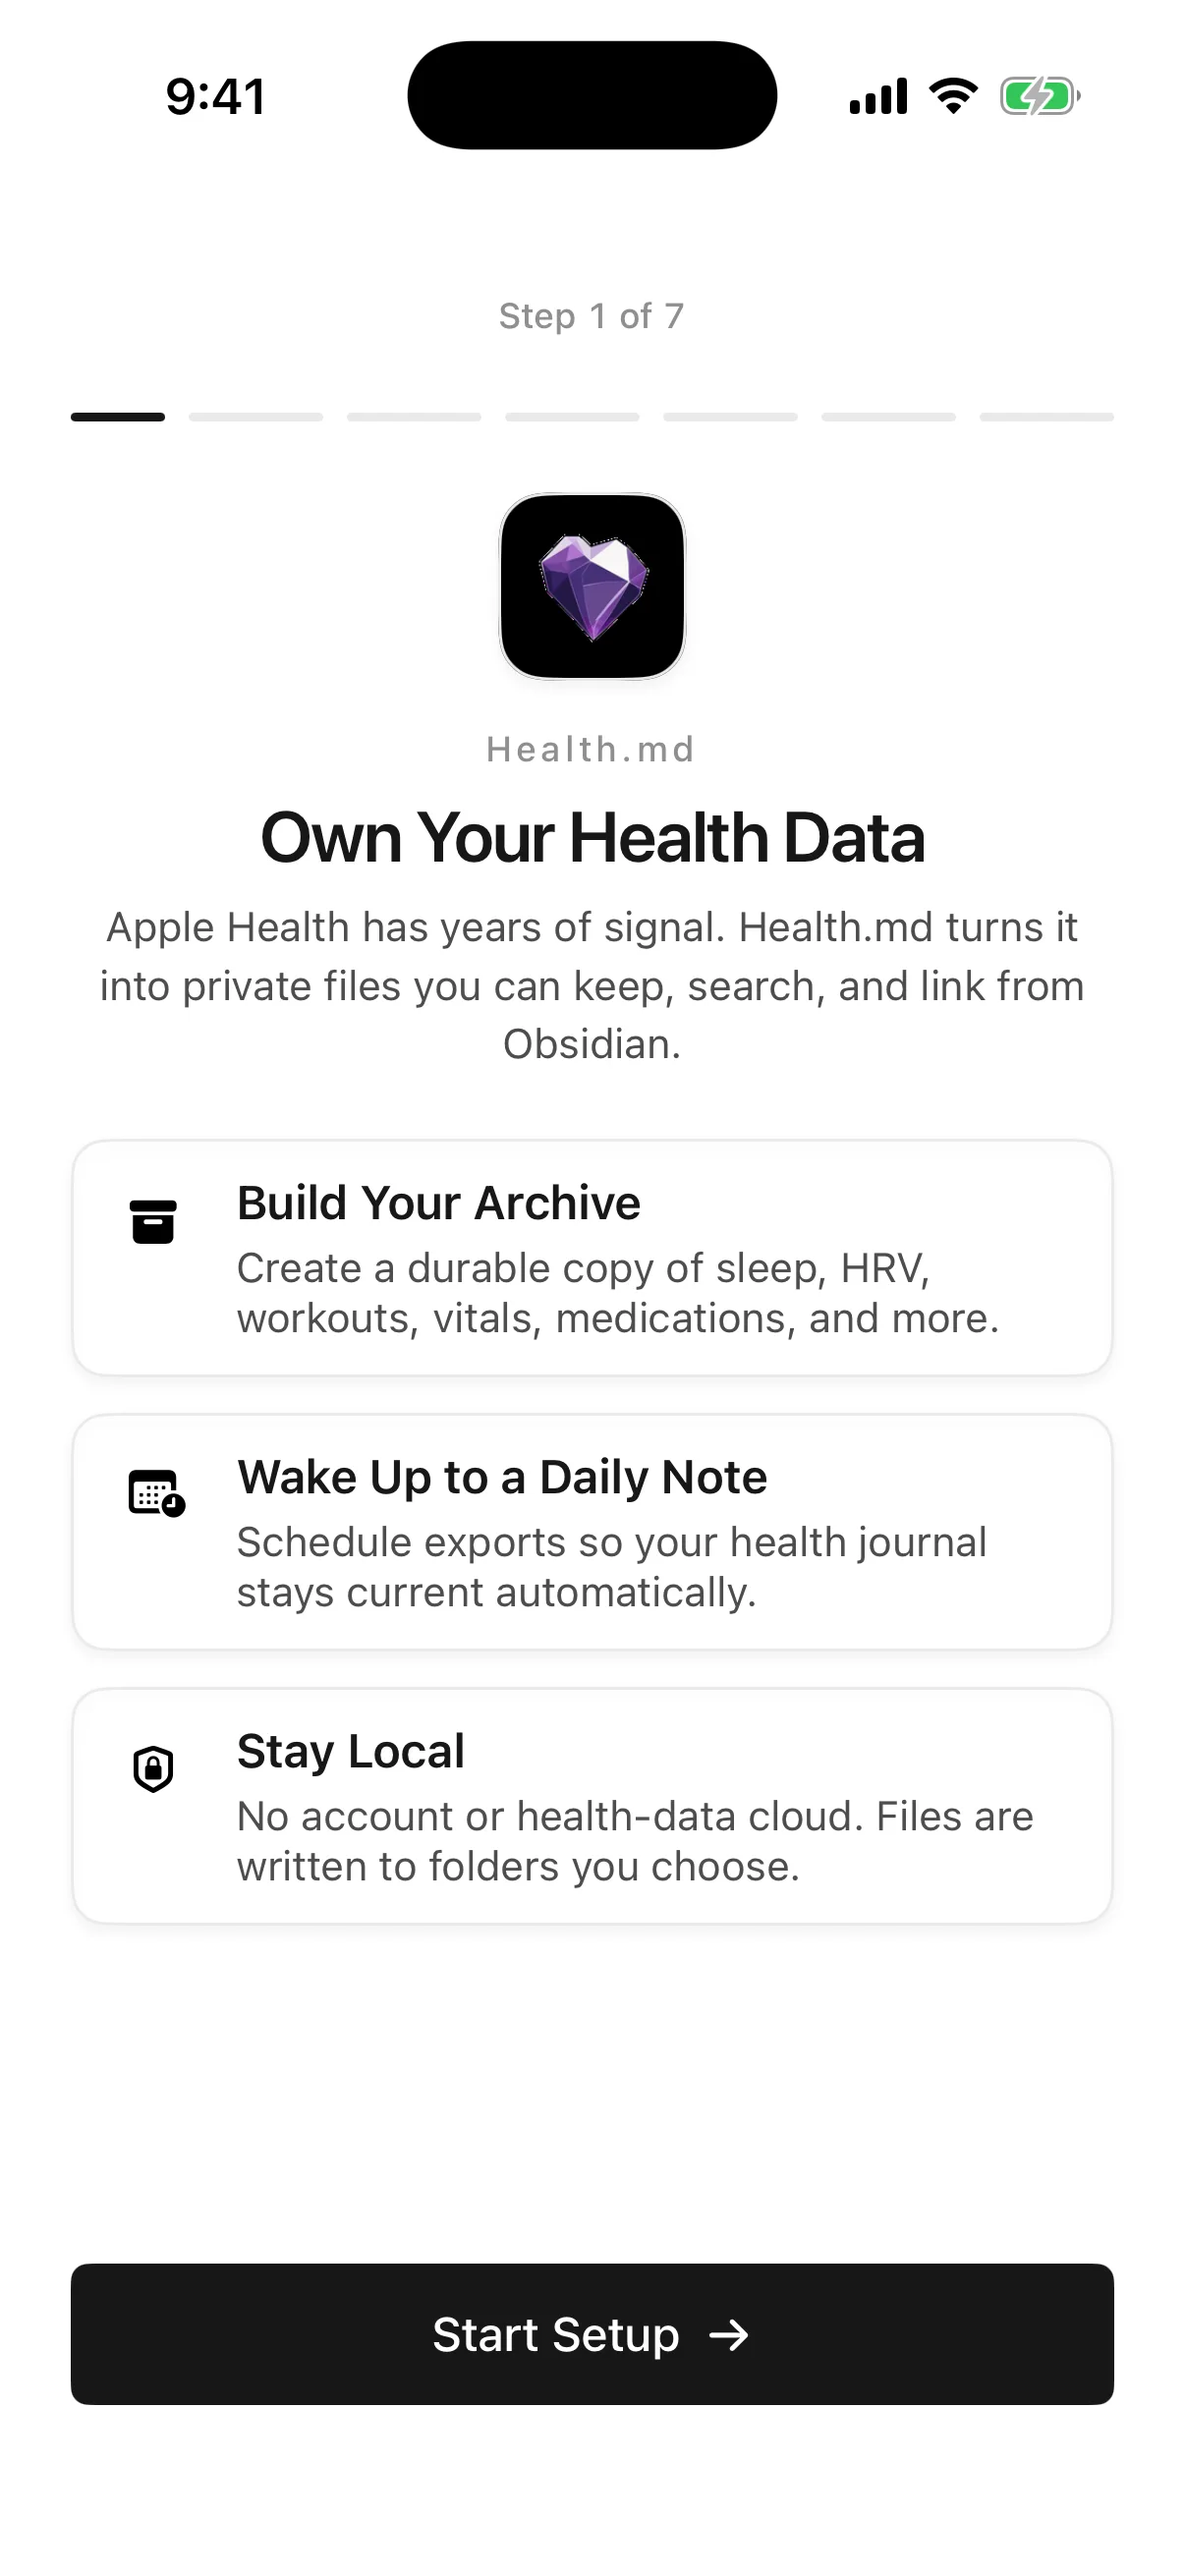
Section titled “1. Finish iPhone setup”Health.md shows seven onboarding screens.
On the first launch, tap Start Setup. Authorize the health categories that you want. Review the sample output. Select a folder in Files. Continue to Ready. At the unlock step, continue with the free allowance.
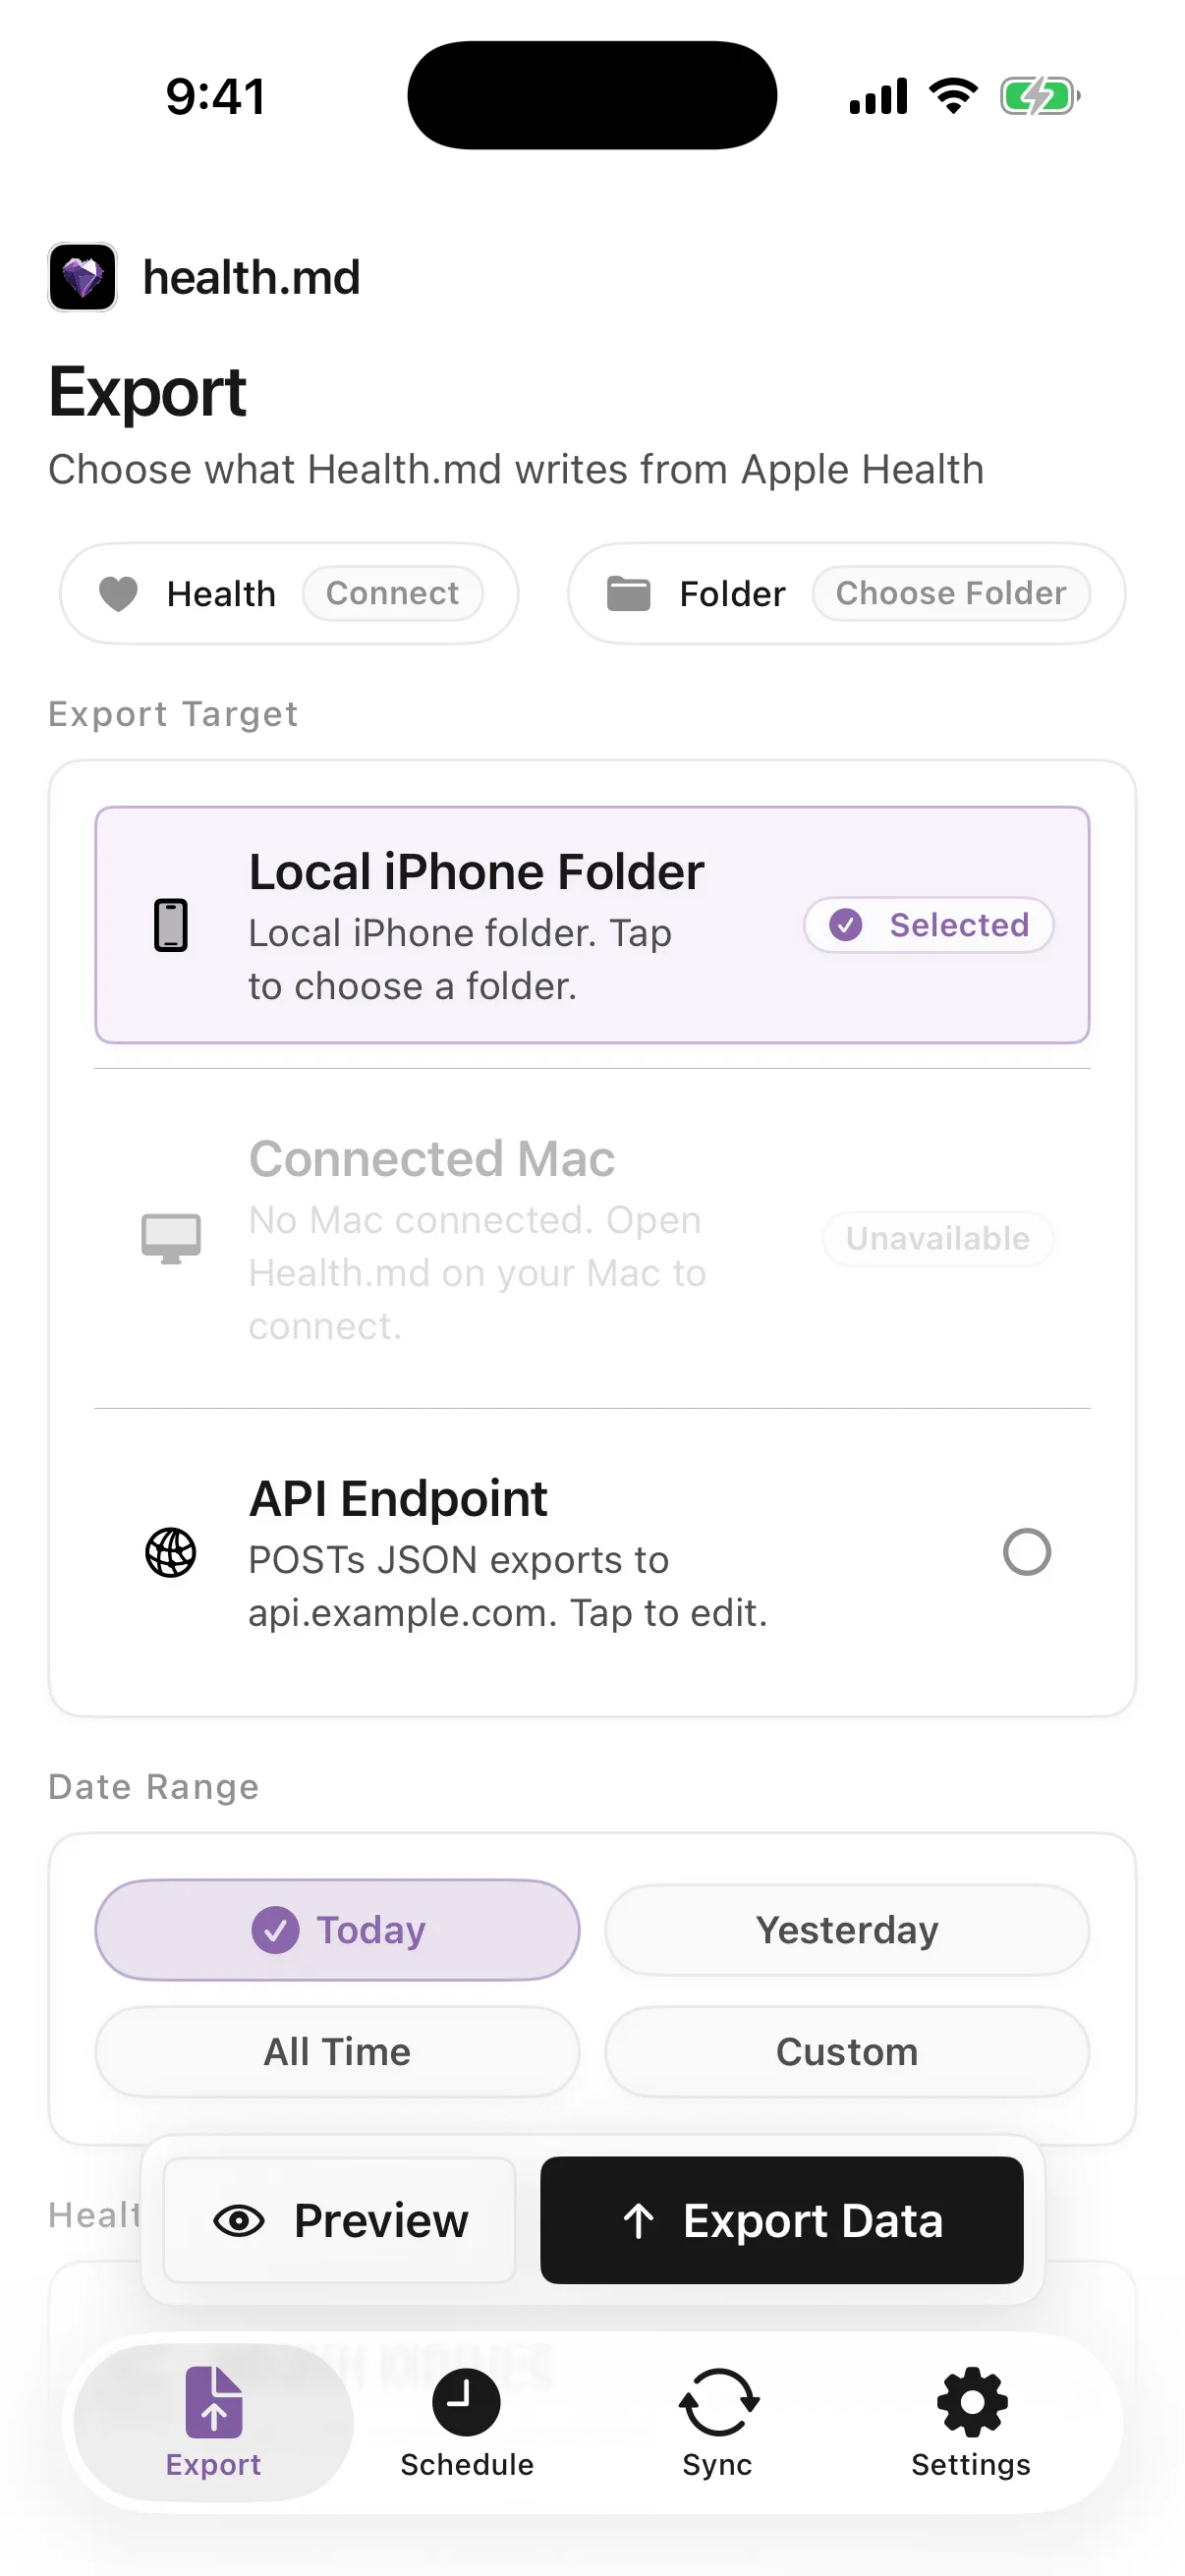
If setup is complete, open the Export tab. Make sure that Apple Health and the local folder are ready.
If the folder is missing or unavailable, use the folder control to select it again.
2. Choose a small export
Section titled “2. Choose a small export”On the Export tab:
- Select Local iPhone Folder as the target.
- Select Yesterday or a custom one-day range.
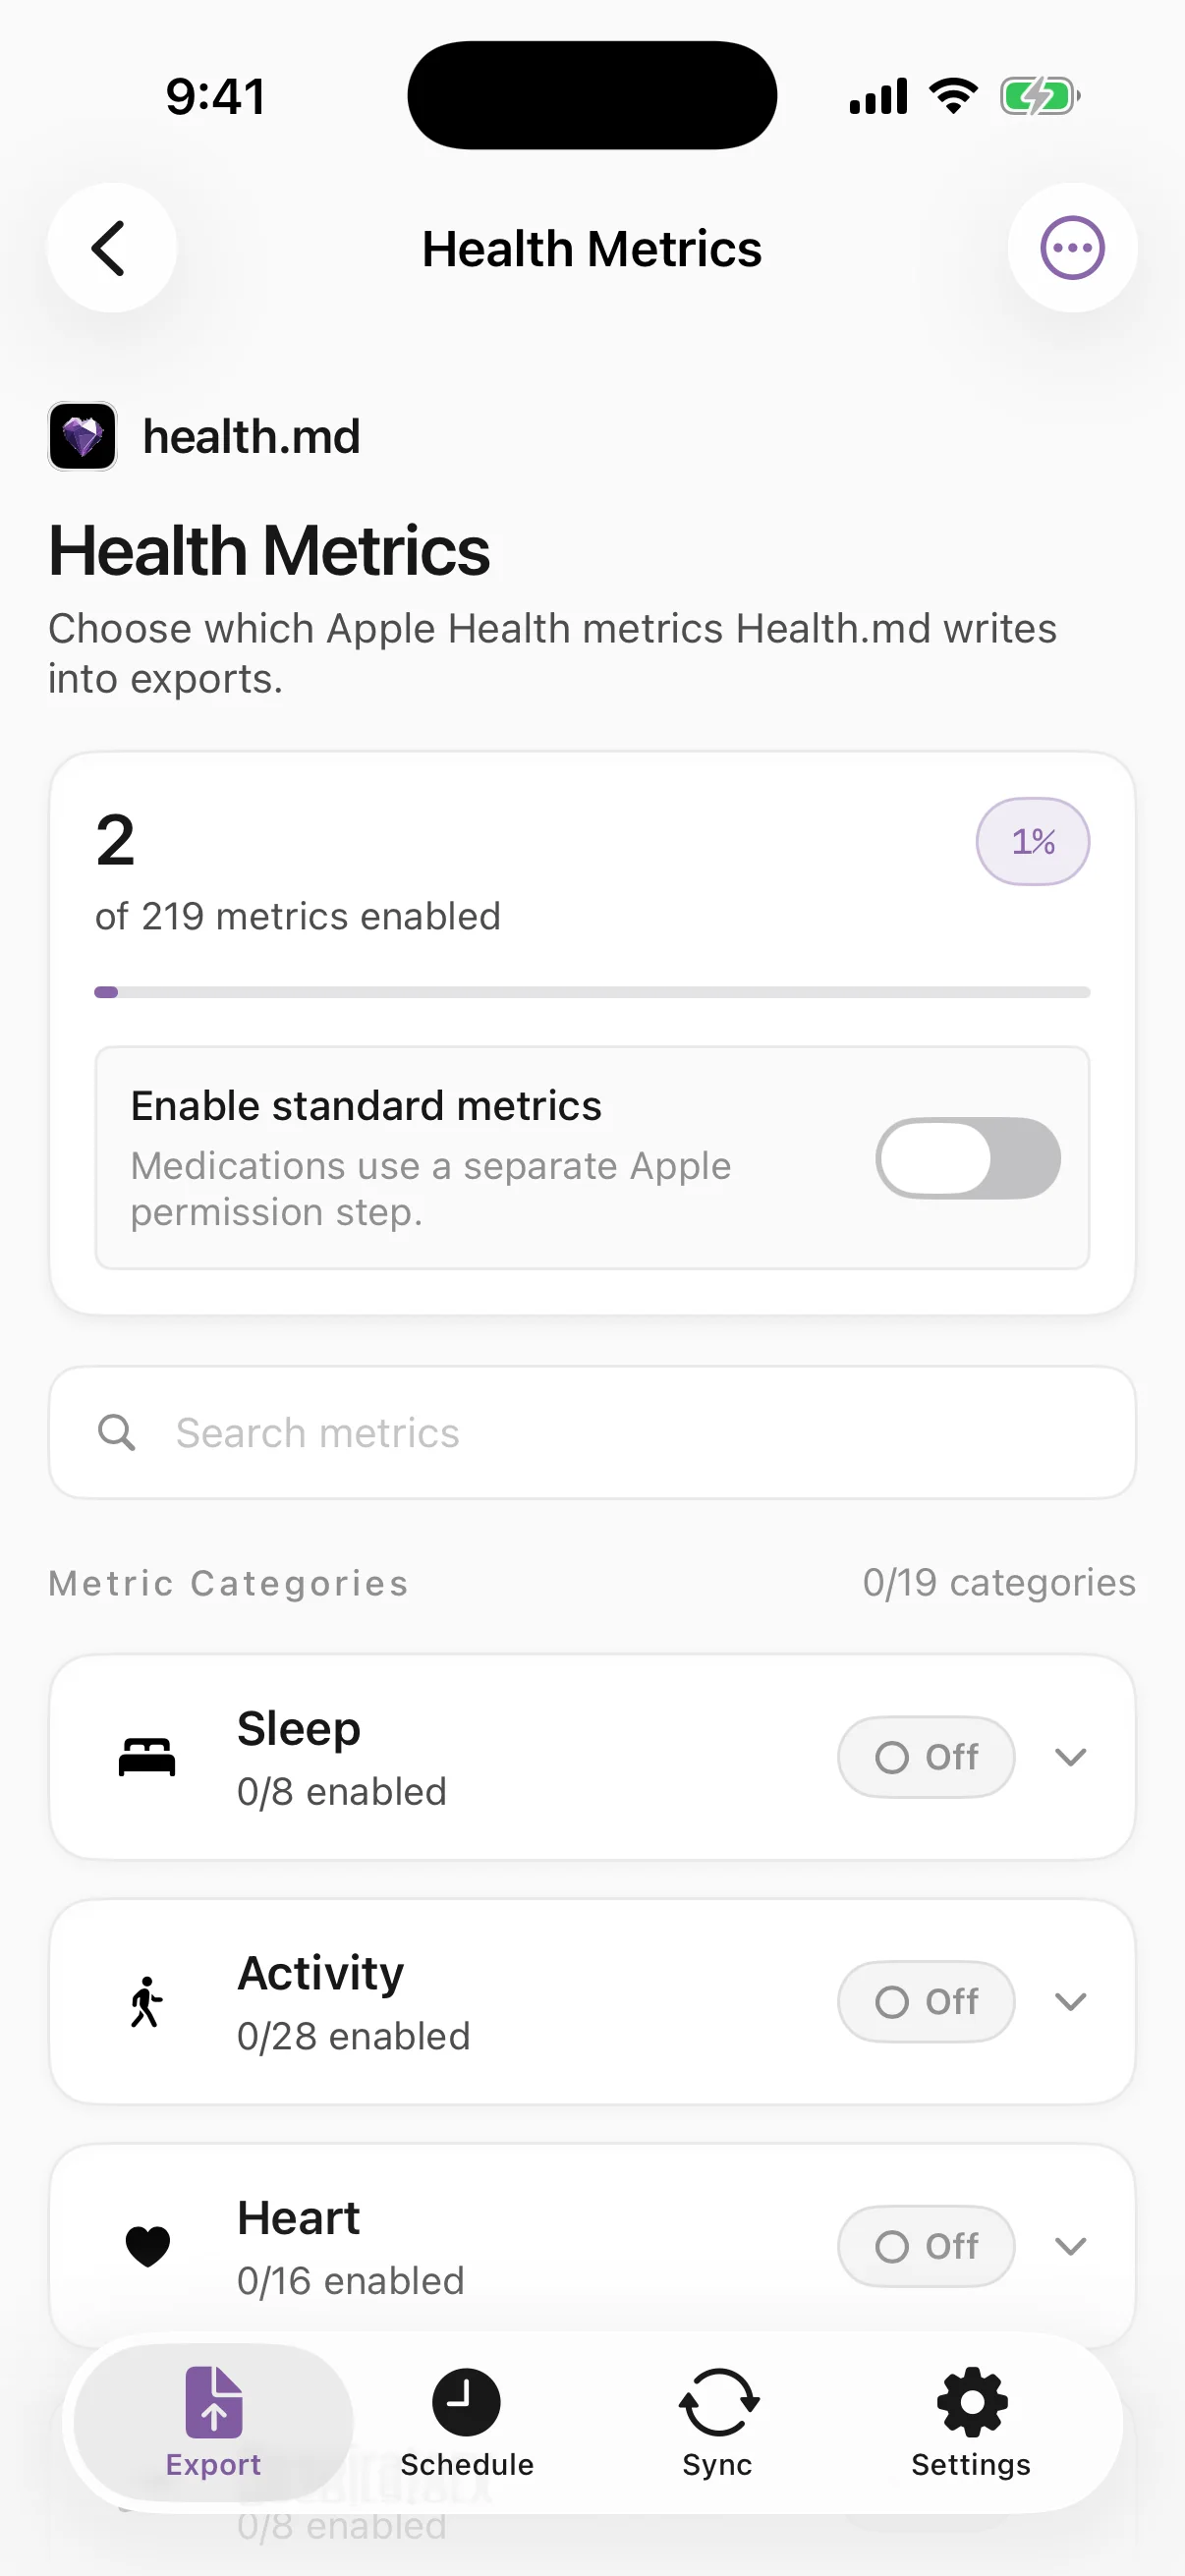
- Keep the default metric selection.
- Keep Markdown selected.
Add CSV, JSON, or Obsidian Bases after this export succeeds. A short range makes permission, empty-data, and folder problems easier to find.
3. Preview before writing
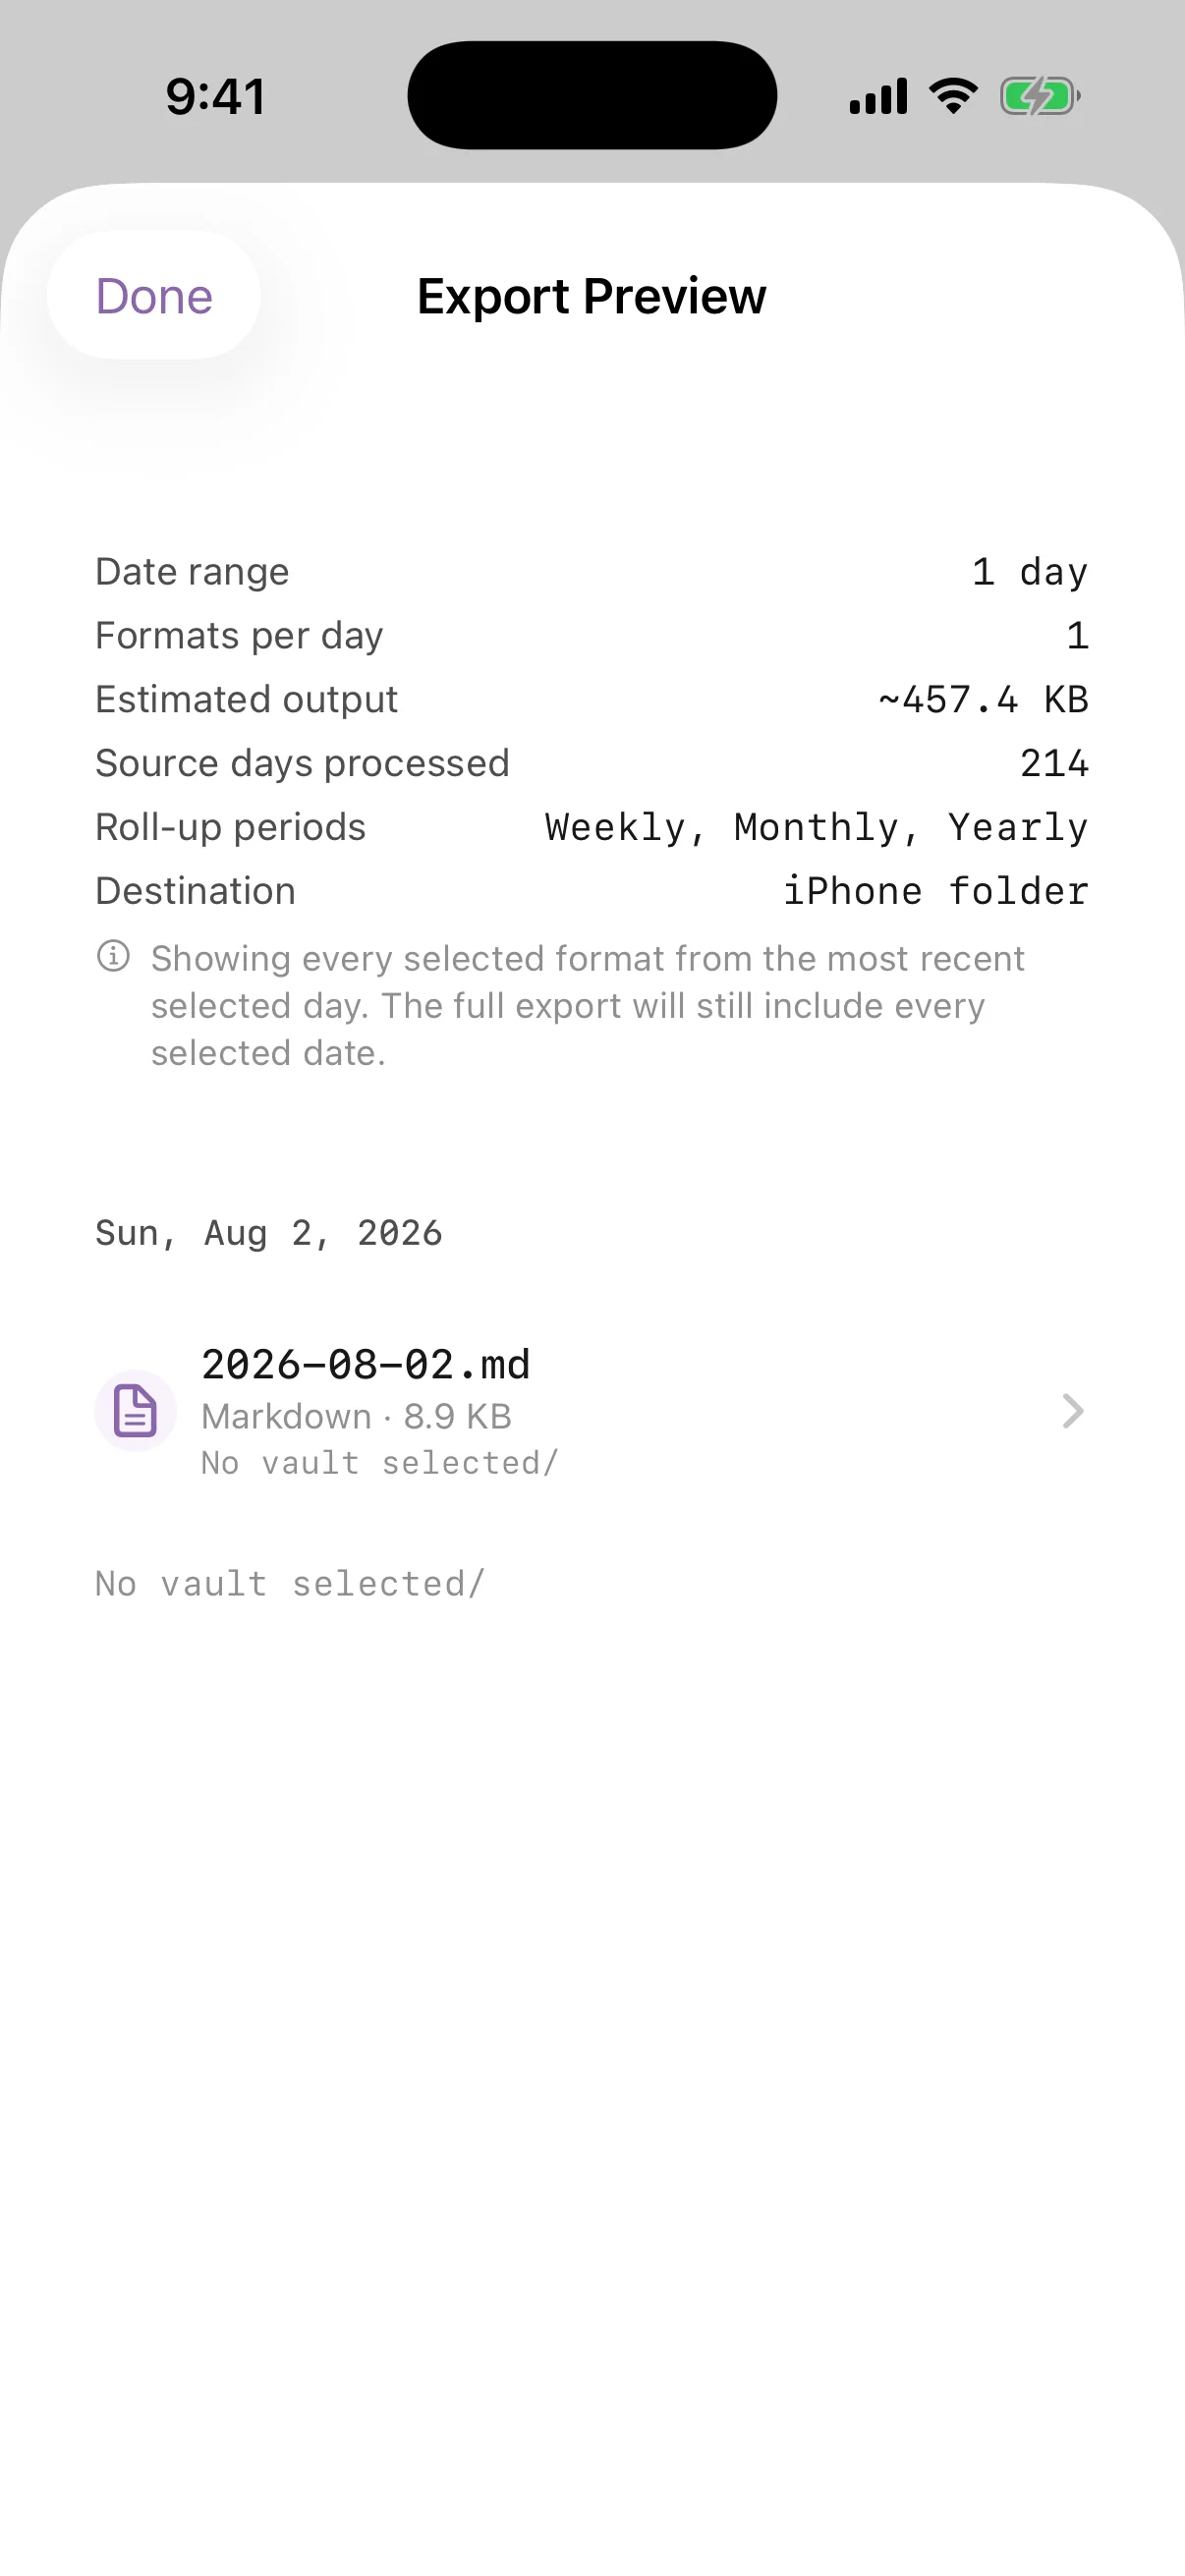
Section titled “3. Preview before writing”Tap Preview. Preview needs Apple Health access. It does not need a writable folder.
Use Preview to identify an Apple Health permission problem before you test the folder.
Make sure that the preview shows:
- The requested date
- The expected metric names and units
- Missing or unavailable values instead of false zero values
- The selected format and filename structure.
Return to the Export tab if you must change dates, metrics, or formats.
4. Export and verify
Section titled “4. Export and verify”Tap Export Data. If setup is incomplete, Health.md identifies the missing Apple Health or folder requirement.
After the export completes:
- Review the result for written, skipped, or failed files.
- Open the Files app and the selected folder.
- Open one generated file. Make sure that its date, units, and frontmatter are correct.
- Keep the result details if you must investigate a problem.
An idle export button does not show that an export succeeded.
Select a day that has activity or sleep data. Then check Apple Health authorization and metric selection. An empty range is not a write failure.